01
Watercolor paper
For watercolour, gouache, and ink washes. Look for 140 lb (300 gsm) cold-press — heavy enough not to buckle when wet. Hot-press for fine detail.
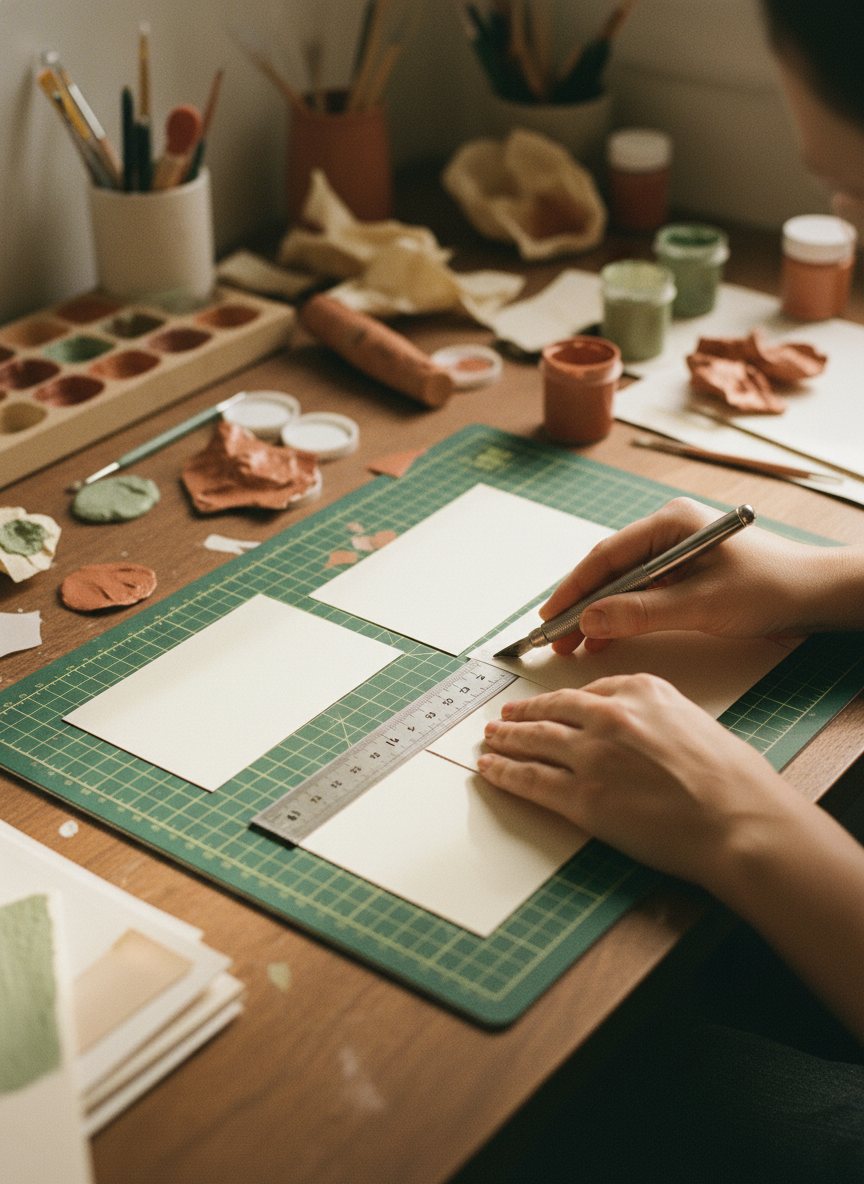
There's exactly one rule — finish at 2.5 × 3.5 inches — and infinite freedom inside it. This guide takes you from a blank scrap of cardstock to a signed, sealed, ready-to-sell miniature, whatever your medium.
The "substrate" is simply what you paint or draw on. Match it to your medium and you're halfway to a good card.
For watercolour, gouache, and ink washes. Look for 140 lb (300 gsm) cold-press — heavy enough not to buckle when wet. Hot-press for fine detail.
Smooth and rigid — ideal for pen & ink, marker, and colored pencil. Smooth (plate) finish for crisp lines; vellum finish for a little tooth.
A tough all-rounder that takes light washes, pencil, marker, and glue without falling apart. A forgiving first choice.
Thick and sturdy for acrylic, collage, and heavy mixed media. Won't warp under glue or built-up paint.
Whatever you choose, aim for something stiff enough to survive shipping. Flimsy paper bends in the post; cards should feel like, well, a card.
Accuracy here is what makes a card a card — buyers expect it to slide into a standard sleeve.
Every medium behaves a little differently at miniature scale. Here's what to expect from the popular ones.
The classic ACEO medium. Work small and loose; let colours bloom. Use a fine round brush and limit your palette so the tiny format doesn't get muddy.
Fine liners or dip pens for crisp line and cross-hatching. High contrast reads beautifully at card scale. Pairs perfectly with a light watercolour wash.
Forgiving, portable, and detailed. Build colour in light layers and burnish for depth. Great for animals and portraits.
Opaque and quick-drying — good for bold colour and texture. Use a little flow medium and a tiny brush so the paint doesn't overwhelm the surface.
Matte, vivid, and re-wettable. The opacity of acrylic with the handling of watercolour — a favourite for clean, graphic ACEOs.
Soft or oil pastels for painterly colour and blending. Work on toothy paper and always fix the finished card to stop smudging.
Layer papers, washi, stamps, and paint. Keep glue thin and the surface flat so the card still fits a sleeve. Endless texture, low pressure.
Create digitally, then print as a numbered giclée edition on quality card. Label clearly as a print — this is the "Editions" in ACEO.
Cut (or pre-cut) your substrate to 2.5×3.5. For wet media, lightly tape the edges to a board to stop buckling.
Block in your composition with a soft pencil. At this scale, one clear focal point beats a busy scene.
Work background to foreground, light to dark (or dark to light for opaque media). Let each layer dry before the next.
Switch to your smallest brush or finest pen for highlights and accents. A few crisp marks bring the card to life.
On the reverse, write the title, medium, your name, the date, and — for prints — the edition number (e.g. 3/25). Add "ACEO" and the size.
Apply a suitable fixative or varnish for delicate media (pastel, pencil, charcoal). Let it cure fully before sleeving.
Keep the front clean — most artists sign small on the front and put the full details on the back.
Every ACEO artist learns these the hard way. You don't have to.
Know your medium? Next, stock your desk. Our buyer's guide covers paper, paints, brushes, fixative, and the sleeves and mailers that keep finished cards safe.